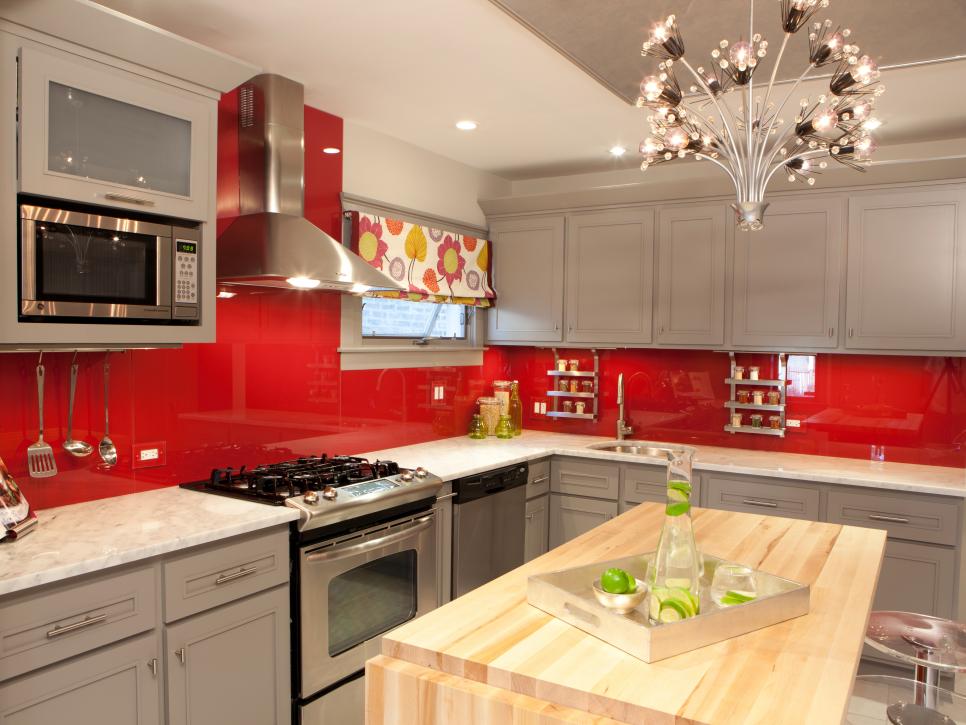
If you want to upgrade your kitchen without spending a lot of money, cabinet painting is a cost-effective way to brighten up your kitchen. With the advances in water-based paints, you can get an amazing look with the durability your kitchen needs without having to use strong odor oil-based paints. Cabinet Painting takes patients and knows how, typically not for the first time DIYer. If you do not master the cabinet painting process, you will come shy of perfect results, showing defects in your finished product. Here at All-Pro Home Services & Painting LLC, we take cabinet painting to the next level. Our proven process will give you the long term beauty you expect. After reading this post you will know what to expect from a cabinet painting job and it will give the DIYer’s a list of steps so they can knock it out without skipping a major step.
Cabinet Painting Process
Preparing The Work Area:
Before sanding, disassembling or painting start, the area needs to be completely prepped. We use rosin paper, wood-safe tape and plastic to completely cover all non-painted surfaces. This makes sure the area is controlled. It also blocks dust and bugs from entering our spray area.
Drawer, Door, and Hardware Removal:
We have all seen painting projects that have paint all over the hinges and knobs. We remove all hardware during the prep process to assure all areas receive each step of our process. Make sure door and drawers are lined up and spaced properly. You may need to put up some saw horses and run a couple of 2x4s to make enough space.
Label Doors:
Hinges can be routed differently and they vary in sizes. We make sure to label all faces prior to painting. Cover the number with masking tape before painting.
Cleaning:
Cabinets need to be extremely clean before painting. Many homes with gas stoves will have a big challenge ahead. Grease can be hard to remove without the proper materials. TSP-PF does a good job cleaning them off when applied by sponge. Let it sit for a couple minutes then wipe clean.
Sanding:
We don’t go overboard on sanding. Typically you can take a 120 grit sanding sponge to them and roughen them up a bit. This will allow the primer to grab better to the cabinets. They do not need to be sanded down clean, but just enough for the paint to adhere properly.
Repairs:
We go through each drawer and door and look for gouges and scratches. All defects will be filled and sanded level, prior to priming.
Priming:
We advise to only use good primers. This is the only thing that allows your paint to stick without chipping. We recommend ProBlock by Sherwin Williams, but it is higher end so not budget friendly. Lightly spray the cabinets with two thin coats of primer. Allow an hour dry time between coats, then 24 hours before painting.
Painting:
All paint is applied by sprayer, as brushing/rolling will leaves marks throughout your cabinets. Spraying give a perfect finish, every time. Apply only paints designed for cabinets or woodwork. We recommend Pro Classic by Sherwin Williams. It gets extremely hard and will stand up to the daily torture our kitchens take. Apply three light coats to slowly build it up.
Clean Up:
Clean up the work area where the cabinet painting took place. Check all areas for over spray and clean anything off that pushed through.
Contact Us
If your considering to have the cabinets painted, give us a call for a free estimate. We can walk through the process and give you a detailed quote of what it will take to make them look perfect! Contact Dillon @ (913) 2919-8406 or info@all-proserviceskc.com.
Posted in Uncategorized

