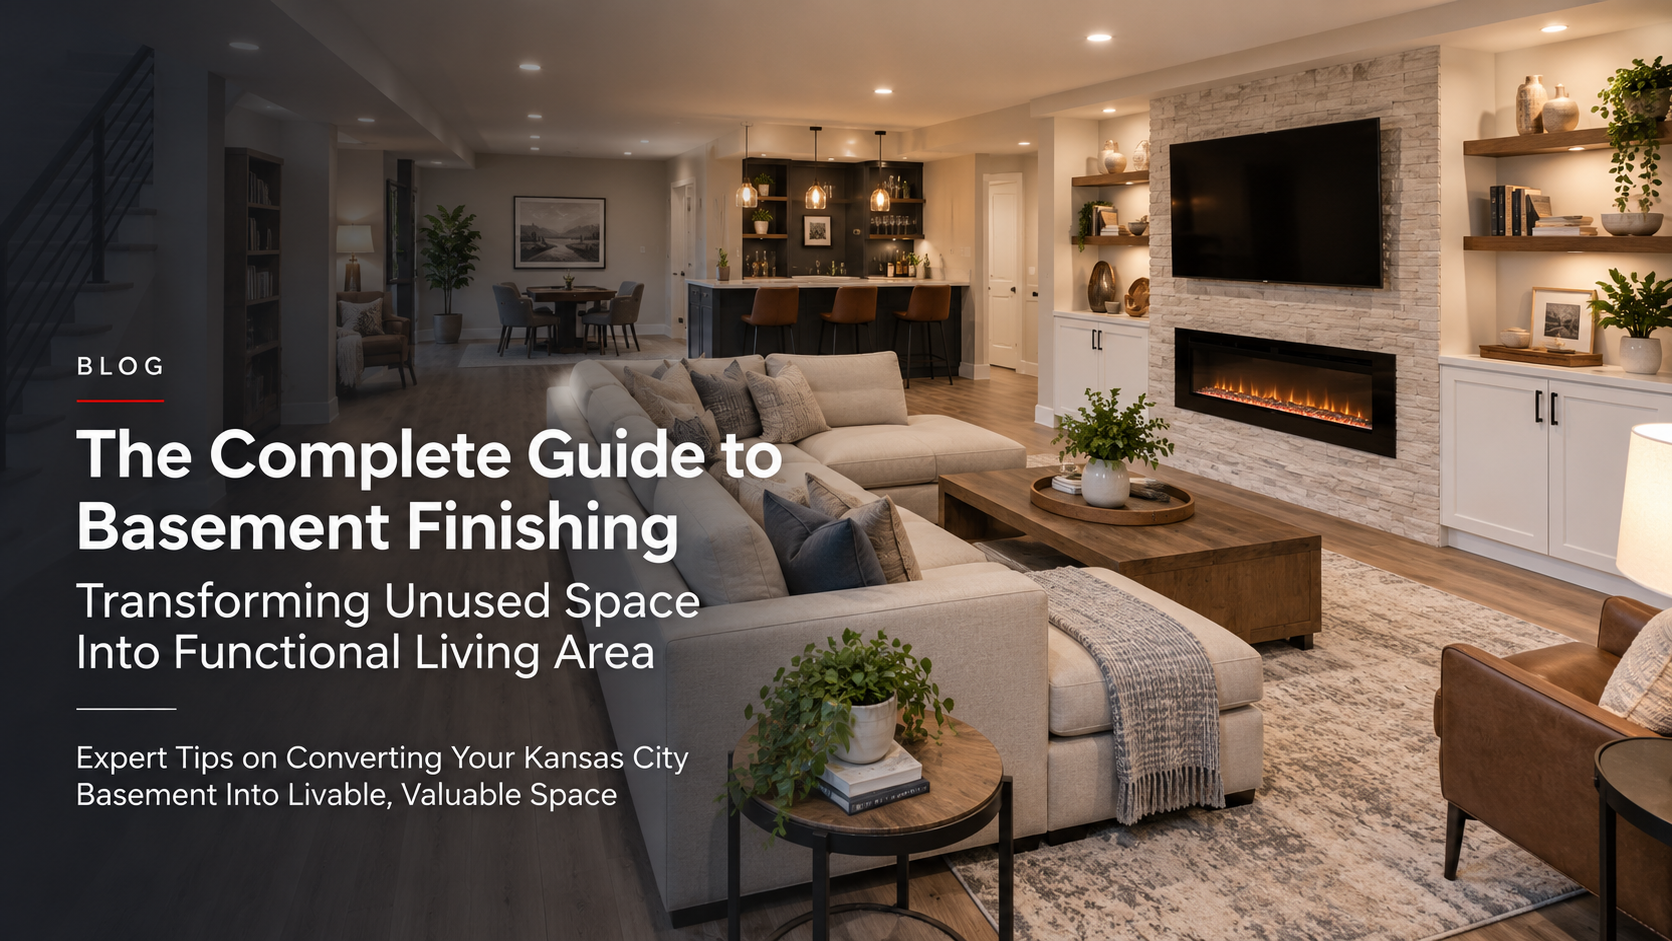
Expert Tips on Converting Your Kansas City Basement Into Livable, Valuable Space
Your basement is one of the largest unused spaces in your home. It’s often dark, unfinished, and filled with storage boxes and seasonal items. But it’s also one of the highest-impact renovation opportunities available.
A finished basement adds tremendous value, expands your living space, and creates opportunities for functionality that your main floor might not support — a recreation room, home office, guest suite, fitness area, or entertainment space.
Yet many homeowners avoid basement finishing because they view it as complicated, expensive, or too disruptive. They’re uncertain about moisture issues, building codes, or whether the project is worth the investment.
The truth: A well-executed basement renovation transforms an unused space into valuable, functional living area. When planned properly, it’s one of the most rewarding renovation projects you can undertake.
At All-Pro Renovations, we’ve finished dozens of Kansas City basements. We understand the unique challenges basements present — moisture, building codes, lighting, HVAC distribution. We know how to overcome these challenges and create beautiful, functional basement spaces that homeowners love.
In this comprehensive guide, we’ll walk you through everything involved in a successful basement finishing project — so you can transform your basement from storage area into valuable living space.
🎯 Understanding Basement Finishing: From Rough to Refined
Basement finishing involves several layers of work, each critical to the final result.
What “Basement Finishing” Includes
Structural and Moisture Work:
- Assessment of foundation and moisture conditions
- Waterproofing or moisture mitigation if needed
- Foundation repairs if necessary
- Drainage systems if required
Framing and Insulation:
- Framing walls to create rooms
- Insulating walls and ceiling
- Installing vapor barriers
- Creating egress windows if needed
Utilities Installation:
- HVAC ductwork extension
- Electrical circuit installation
- Plumbing if adding bathrooms or kitchens
- Ventilation and exhaust systems
Interior Finish Work:
- Drywall installation and finishing
- Paint application
- Flooring installation
- Lighting installation
- Door installation
Fixtures and Details:
- Trim and baseboards
- Hardware installation
- Final adjustments and touch-ups
💧 Moisture: The Critical Basement Challenge
The biggest challenge in basement finishing is moisture. Basements are partially underground, surrounded by soil and subject to water infiltration. Understanding and addressing moisture is essential.
Types of Moisture Issues
Seepage (Water Infiltration)
- Water enters through foundation cracks or walls
- Usually occurs after heavy rain or snowmelt
- Can be gradual or dramatic
- Most common in older basements
Signs:
- Water stains on walls or floors
- Efflorescence (white mineral deposits)
- Visible cracks in foundation
- Musty odor
- Wet floor after rain
Condensation
- Occurs when warm indoor air meets cool basement surfaces
- Typical in summer when cool basement meets humid outdoor air
- Creates damp, uncomfortable conditions
- Can lead to mold growth
Signs:
- Sweating walls or pipes
- Damp feeling despite no visible water
- Musty odor
- Mold or mildew spots
Vapor Transmission
- Moisture from soil passes through concrete foundation
- Constant, year-round process
- Not necessarily visible but affects comfort
- Can damage flooring and materials
Assessing Moisture Before Finishing
Before any basement finishing, assess moisture:
- Visual inspection – Look for stains, efflorescence, mold
- Recent history – Have there been water issues?
- Drainage observation – Does water pool around foundation after rain?
- Humidity testing – Use moisture meter to check concrete
- Professional assessment – Consider moisture evaluation by expert
What’s acceptable:
- Some moisture is normal in basements
- Modern waterproofing products manage moisture effectively
- Proper design mitigates moisture concerns
When additional waterproofing is needed:
- History of water infiltration
- Visible seepage or dampness
- High groundwater table
- No exterior drainage system
- Cracks in foundation requiring repair
Moisture Solutions
Interior Moisture Management (Most Common):
- Vapor barriers under flooring
- Waterproof paint on walls
- Dehumidifiers for moisture control
- Proper ventilation and exhaust
Exterior Waterproofing (If Needed):
- Excavation around foundation
- Membrane application
- Exterior drainage installation
- Sump pump systems
Moisture Prevention:
- Gutters and downspouts directing water away
- Grading sloping away from foundation
- Interior sump pump if water issues exist
- Dehumidifier use
🏗️ Basement Egress Requirements: Critical Building Code
Building codes require habitable basement spaces to have egress (exit) routes.
Egress Window Requirements
For Basement Bedrooms (Mandatory):
- Egress window required in every bedroom
- Minimum 5.7 square feet opening area (minimum 32 inches wide, 37 inches tall)
- Sill height maximum 44 inches from floor
- Must be operable from inside without tools
- Well or grate required to prevent water infiltration
For Other Habitable Spaces (Generally Required):
- Recreation rooms, offices, guest rooms typically need egress
- Requirements vary by jurisdiction
- Check Kansas City building code
For Storage or Utility Spaces (Not Typically Required):
- Unfinished storage areas
- Laundry rooms
- Mechanical rooms
- May only need one egress point from basement
Egress Well Installation
Window wells:
- Recessed area below grade allowing window to open
- Required to prevent water infiltration
- Typically 3-4 feet deep below grade
- Grates prevent debris entry
- Drain holes prevent water accumulation
- Proper installation critical for function
Cost consideration:
- Egress wells add significant cost
- Necessary investment if bedrooms planned
- Budget significant cost per egress window installation
🌡️ HVAC Distribution in Basements
Extending heating and cooling to basements requires careful planning.
HVAC Capacity Assessment
Before planning:
- Existing HVAC system must be large enough for additional square footage
- Many systems at capacity already
- Undersized systems create comfort and efficiency problems
System sizing:
- Older systems rarely sized for basement additions
- Newer, high-efficiency systems handle additions better
- Professional assessment necessary
- Upgrades often required
Ductwork Distribution
Options:
- Extend existing ductwork from main system (if capacity allows)
- Install secondary return air system (draws air from basement back to main system)
- Install separate basement HVAC zone (significant cost but maximum control)
- Mini-split systems (ductless) for basement area
Considerations:
- Basement typically colder than upper floors (position down the drain from upper house)
- Zoning allows temperature control independent of main floor
- Ductwork in basement exposes it to cold; insulation important
- Separate zone adds cost but improves comfort
💡 Lighting in Basements: Creating Brightness and Openness
Basements typically lack natural light. Strategic artificial lighting is essential.
Recessed Lighting
Most common basement approach:
- Ceiling-mounted fixtures spaced for even coverage
- Typically on 4-6 foot spacing
- Provides general, ambient illumination
- Modern LED fixtures energy-efficient
Design tip:
- More recessed lights in basement than main floor (compensate for lack of windows)
- Brightness important for feeling spacious
Ambient Lighting Enhancement
- Ceiling fixtures for general illumination
- Wall sconces for accent and design
- Pendant lights if islands or gathering spaces
- Dimmers for mood flexibility
Task Lighting
- Desk lamps in home office areas
- Brighter task lighting in work zones
- Adequate illumination for activities
Addressing Basement Darkness
Design strategies:
- Light colors on walls and ceiling (reflect light)
- Mirrors to expand perception of space and reflect light
- Maximize brightness levels (basement needs brighter than similar main-floor space)
- Consider light color temperature (4000K-5000K daylight for brightness; 2700K creates coziness if adequate brightness)
📐 Basement Layout: Creating Functional Spaces
Smart layout maximizes utility and creates distinct functional areas.
Recreation/Family Room
Best location: Central basement area with good ceiling height
Design considerations:
- Comfortable seating arrangement
- Entertainment area (TV, games, bar)
- Natural traffic flow
- Adequate lighting
- Sound dampening if movies/music
Features:
- Wet bar (if desired)
- Built-in shelving or storage
- Media wall for TV
Home Office
Requirements:
- Separate from main activity areas (quiet)
- Good lighting (critical for work)
- Electrical outlets for equipment
- Adequate ventilation
- Window or egress preferred (but not always possible)
Design tips:
- Partition with walls or screens for separation
- Desk location away from main family area
- Proper HVAC distribution to office
Guest Suite/Bedroom
Requirements:
- Egress window (building code mandatory)
- Separate from main activity areas
- Bathroom access (ensuite or shared)
- Adequate ceiling height (minimum 7 feet, preferably 8+)
Design considerations:
- Privacy from main basement activities
- Lighting to create bedroom feel
- Closet space
- Temperature control via zoning
Fitness/Exercise Area
Requirements:
- Adequate space for equipment
- Flooring suitable for exercise (rubber mats, etc.)
- Ventilation and humidity control
- Mirrors to create sense of space
Design considerations:
- Separate from other activities if possible
- Sound dampening for equipment noise
- Adequate lighting for safety
Utility/Mechanical Areas
Should be separate:
- HVAC equipment isolated from living spaces
- Water heater and plumbing
- Furnace, electrical panel
- Storage for utilities and seasonal items
Design tip:
- Screen or wall off mechanical areas for aesthetics
- Leave adequate access for maintenance
🧊 Basement Flooring: Practical and Beautiful
Basement flooring must handle moisture while looking good.
Best Basement Flooring Options
Luxury Vinyl Plank (LVP)
- Most popular basement choice
- Waterproof, moisture-resistant
- Looks like wood or stone
- Easy to clean and maintain
- Budget-friendly
Advantages:
- Completely waterproof
- Comfortable underfoot
- Looks great
- Affordable
Porcelain Tile
- Durable, moisture-proof
- Stain-resistant
- Can feel cold without radiant heat
- Requires grout maintenance
Best for: Fitness areas, utility areas, or with radiant heating
Polished Concrete
- Modern, sleek appearance
- Very durable
- Moisture-resistant if sealed
- Cold underfoot without heating
Best for: Contemporary design, secondary spaces
NOT Recommended:
- Hardwood (swells with moisture)
- Laminate (moisture sensitive)
- Carpet (moisture and mold concerns)
Radiant Floor Heating
Consideration for basements:
- Installed under flooring
- Eliminates cold floor problem
- Creates comfortable basement
- Expensive but worth considering
- Works well under LVP and tile
📏 Ceiling Height: Critical for Comfort
Low basement ceilings create claustrophobic feeling. Height matters significantly.
Typical Basement Ceiling Heights
Below 7 feet: Noticeably low, uncomfortable
7 feet: Minimum acceptable, but feels constrained
8 feet: Ideal for comfortable feeling
9+ feet: Spacious, luxurious feeling
Increasing Perceived Height
If basement has low ceiling:
- Light ceiling colors (reflect light upward)
- Uncluttered design
- Vertical elements (tall shelving, etc.)
- Good lighting (makes space feel larger)
- Paint ceiling lighter than walls (visually higher)
If renovating and can raise ceiling:
- Removes basement pipes if possible
- Relocates ductwork to walls
- Significant cost but worthwhile
- Maximum 1-2 feet increase typically possible
🚽 Basement Bathrooms and Plumbing
Adding bathrooms to basements requires careful plumbing consideration.
Drain Line Challenges
Typical issue:
- Basement is below main sewer line
- Gravity can’t move waste upward
- Requires special solution
Solutions:
Uphill Plumbing (Rough-in with slope):
- Pipes installed upward to main drain
- Works if elevation allows
- Most economical option
- Not always feasible
Sanitary Macerating System:
- Grinds waste and pumps upward
- Compact, works with limited space
- More expensive than gravity drain
- Requires occasional maintenance
- Effective solution for basements
Separate Sump System:
- Pumps waste to main line
- Similar to macerating system
- Alternative approach
Half Bath vs. Full Bath
Half bath (toilet and sink):
- Simpler to add
- Less plumbing complexity
- Minimal cost difference
Full bath (toilet, sink, shower):
- Requires proper ventilation
- Water supply needed
- Drain line complexity
- Significant plumbing work
💰 Basement Finishing Costs and Budget
Basement finishing costs vary significantly based on scope and quality.
Typical Cost Ranges
Basic Finish: $50-100 per square foot
- Basic drywall and paint
- Simple flooring
- Minimal lighting
- No bathrooms
- 1,000 sq ft = $50,000-100,000
Moderate Finish: $100-150 per square foot
- Quality flooring
- Better lighting and finishes
- Possibly half bath
- Some built-ins
- 1,000 sq ft = $100,000-150,000
Quality Finish: $150-200+ per square foot
- Premium finishes
- Full bathroom
- Good lighting design
- Custom elements
- 1,000 sq ft = $150,000-200,000+
What Affects Basement Cost:
- Moisture work – Waterproofing adds significant cost if needed
- HVAC – System upgrade if needed; zoning adds cost
- Plumbing – Bathroom additions increase cost significantly
- Egress windows – $1,500-3,000 each if bedrooms planned
- Electrical – Extent of new circuits needed
- Flooring – Quality and type dramatically affect cost
- Finishes – Paint, trim, fixtures all affect final cost
- Structural – Low ceiling raises cost if raising ceilings
📅 Basement Renovation Timeline
Basement projects typically take longer than similar main-floor work.
Typical Phases:
Weeks 1-2: Preparation and Assessment
- Moisture assessment
- Structural inspection
- Planning and design finalization
Weeks 2-3: Framing and Preparation
- Wall framing
- Egress window installation (if needed)
- Rough HVAC, electrical, plumbing
Weeks 3-4: Utilities Installation
- Ductwork completion
- Electrical rough-in
- Plumbing rough-in
- Inspections
Weeks 4-5: Insulation and Drywall
- Wall insulation
- Vapor barriers
- Drywall installation and finishing
Weeks 5-6: Flooring and Finishes
- Flooring installation
- Paint application
- Lighting installation
Weeks 6-7: Final Details
- Fixtures installation
- Trim and baseboards
- Doors and hardware
- Final inspections
Weeks 7-8: Closeout
- Punch-list items
- Final cleaning
- Final approvals
Variables: Moisture issues, HVAC upgrades, bathroom addition all extend timeline
🎯 Basement Finishing Common Mistakes to Avoid
Mistake 1: Ignoring Moisture Issues
Finishing over moisture problems leads to mold, damage, and costly repairs.
Fix: Address moisture before finishing; invest in waterproofing if needed
Mistake 2: Undersized HVAC
Extending system without upgrading creates uncomfortable, inefficient basement.
Fix: Professional HVAC assessment before finishing; upgrade if needed
Mistake 3: Low Ceiling Acceptance
Low ceilings create claustrophobic basement despite quality finishes.
Fix: Raise ceiling if possible; maximize height perception with design
Mistake 4: Inadequate Lighting
Dark basement feels uninviting despite beautiful finishes.
Fix: Install more recessed lights than main floor; strategic accent lighting
Mistake 5: No Egress Planning
Skipping egress for bedroom limits future use and violates code.
Fix: Plan egress windows during initial design; budget for installation
Mistake 6: Ignoring Ventilation
Musty basement smell indicates ventilation problems.
Fix: Ensure proper HVAC distribution; consider exhaust ventilation
Mistake 7: Cheap Flooring
Budget flooring shows wear quickly; moisture damage possible.
Fix: Invest in quality waterproof flooring (LVP, tile)
🎯 Planning Your Basement Finishing: Step-by-Step
Step 1: Assess Current Basement
- Moisture conditions?
- Current ceiling height?
- HVAC and utilities locations?
- Structural issues?
Step 2: Determine Your Vision
- Primary use for space?
- Must-have features?
- Nice-to-have features?
- Budget range?
Step 3: Professional Assessment
- Moisture evaluation
- HVAC capacity assessment
- Structural inspection
- Code requirements (egress, etc.)
Step 4: Address Major Systems
- Waterproofing if needed
- HVAC upgrades if required
- Electrical panel capacity check
Step 5: Plan Layout
- Zone for specific uses
- Separate utility areas
- Traffic flow through space
- Bedroom/egress requirements
Step 6: Design Finishes
- Flooring selection
- Paint colors
- Lighting plan
- Fixtures and hardware
Step 7: Get Professional Estimates
- Multiple contractor quotes
- Understand scope differences
- Verify references
Step 8: Execute and Enjoy
- Work with professional contractor
- Regular communication
- Address issues promptly
- Enjoy your new space!
The Bottom Line: Basements Represent Hidden Potential
Your basement is one of the most valuable renovation opportunities in your home. A well-finished basement adds tremendous value, expands living space, and creates functionality that transforms how you use your home.
The key is addressing basement-specific challenges — moisture, HVAC, lighting, egress — from the start. When planned properly, basement finishing creates spaces you’ll love using for decades.
At All-Pro Renovations, we understand basement challenges and opportunities. We’ve finished dozens of Kansas City basements, each unique, each transformed into valuable living space. We know how to handle moisture, optimize HVAC, create bright beautiful spaces, and deliver quality construction.
Ready to Transform Your Basement?
If you’re considering basement finishing in the Kansas City area, let’s talk about your vision and how to make it reality.
Contact All-Pro Renovations today for your free consultation.
📞 Call us at 913-354-2380
📅 Schedule your free estimate online
💬 Email us at info@all-proserviceskc.com
We serve homeowners across Kansas City, Overland Park, Olathe, Lee’s Summit, Shawnee, Lenexa, and all surrounding communities.
FAQs About Basement Finishing
Q: How do I know if my basement has moisture problems? A: Look for water stains, efflorescence (white mineral deposits), musty smell, or visible dampness. Professional moisture assessment recommended before finishing.
Q: Do I need to waterproof my basement before finishing? A: If history of water issues or high moisture, waterproofing important. Modern moisture management products handle mild moisture. Professional assessment determines if exterior waterproofing needed.
Q: Can my existing HVAC handle a finished basement? A: Not always. Many systems already at capacity. Professional assessment required. Upgrade often necessary; can add cost but essential for comfort.
Q: Are egress windows really necessary? A: Yes, building code requires them for bedrooms. Required for safety (emergency exit). Budget significant cost per egress window.
Q: What’s the best flooring for basements? A: Luxury vinyl plank (LVP) is most popular — waterproof, durable, looks great, affordable. Porcelain tile also good option. Avoid wood and laminate.
Q: How much does basement finishing typically cost? A: Ranges $50-200+ per square foot depending on scope. 1,000 sq ft typical: $50,000-200,000+ depending on quality and features.
Q: How long does basement finishing take? A: Typical 6-8 weeks for quality finish. Complex projects or moisture work may extend timeline.
Q: Can I add a bathroom to my basement? A: Yes, but requires plumbing solution. Drain lines must go uphill; macerating system or uphill rough-in needed. Half bath simpler than full bath.
All-Pro Renovations has been transforming Kansas City basements into valuable living space since 2017. We understand basement challenges and create beautiful, functional spaces. Contact us today to plan your basement transformation.
Posted in Construction, Design, Exteriors, Kitchen & Bath, Property Investment, Remodeling